This beginner’s tutorial would explain the steps required to be able to type in any available Indian languages in Ubuntu/Linux.
Regional languages are always important in softwares, operating systems due to wide range of adoption of Linux/Ubuntu in developing countries in schools, NGOs. This is mainly due the free and open source softwares which helps people to learn and get their job done in day to day basis.
However, typing or writing in any regional languages in laptops, desktops with Ubuntu installed is not straight forward. It is indeed quite easy to type in any regional languages in mobile phones with tap of a button which changes keyboard layout. To do this in Ubuntu/Linux requires some small configuration changes.
Here’s how you can do it using IBus (intelligent input bus). IBus is a multilingual input method for Unix like operating systems. It provides easy input method alongside of English and provides interfaces to type.
This tutorials uses Indian regional language Bengali as an example, but you can follow same steps for any non-english language as per your need.
Steps to Configure Indian Language Input
- Open terminal in Ubuntu (CTRL+ALT+T) and run below command to install IBus.
sudo apt install ibus-m17n
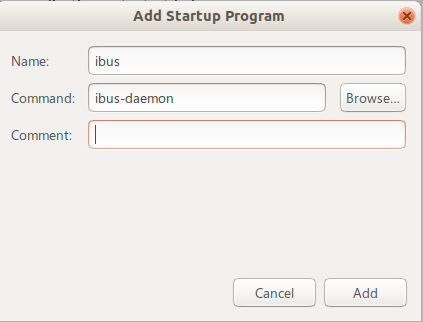
- After installation, you have to start the ibus-daemon so that, when computer boots up to make sure regional typing is always available. Open Startup Applications and add the followings. Click Add and close.
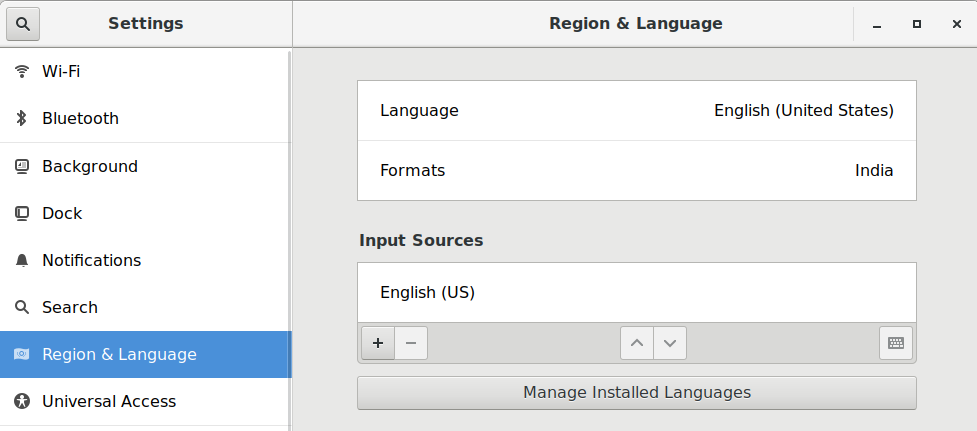
- Open settings and click on the Region and Language. Under Input sources click on Manage installed languages. If you get a prompt to install additional language support packages – go ahead and install.
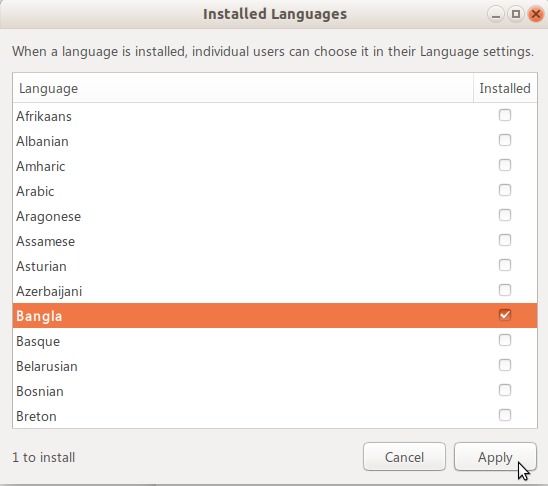
- In the language support window, under Language tab click Install/Remove languages.

In the language window, select your desired language and click apply (e.g. Bangla for this tutorial). This will install some language packages depending on what you have chosen.
- Make sure to select Keyboard input method = IBus in Language support window. Press close.
- In the main settings window, under Region and Language, click on the small [+] button as Input Sources. See image above.
- In the add an input source window, select Other. Select your desired language from other list and click Add.
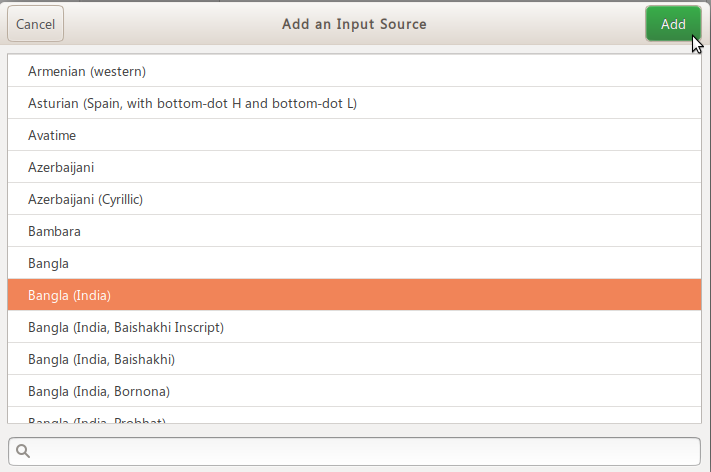
- Now you will see the newly selected language under Input sources.
- Close the settings window. Logoff and login in your system.
- After login, you can see the language bar is available in top taskbar in Ubuntu. You can see your installed language along with default English which you may have chosen during installation.

How to Type
- By default, the language selector keyboard shortcut in Ubuntu is SUPER+SPACE. You can change this from settings/keyboard configuration anytime.
- Open GEDIT/LibreOffice or any application.
- Press SUPER+SPACE from keyboard and select Bangla. And start typing.

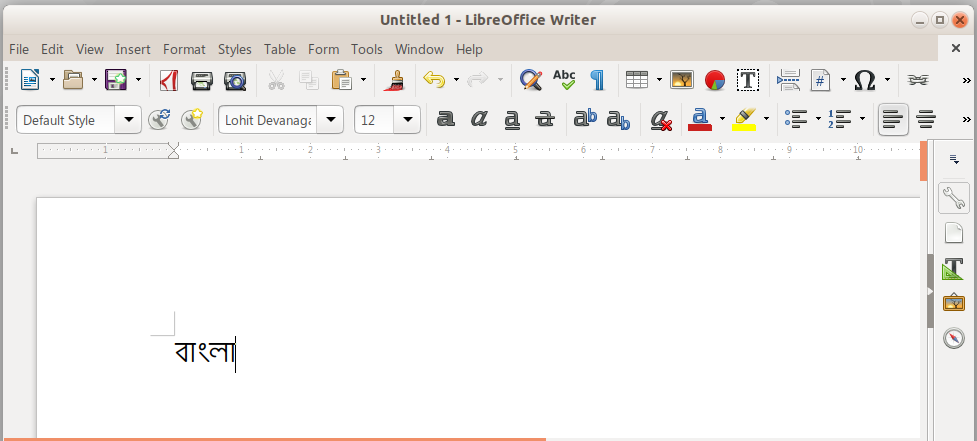
- You can see the regional language (for this case Bangla) in your document.
If you face difficulties typing, you can see the keyboard layout by click the taskbar language menu which would help you to type.
We feel this tutorial would help you to get started with regional language typing and you can explore other configurations and options on your own. If this article helped, don’t forget to share and drop a comment below.


