Screenshot tour & highlights of the new Ubuntu desktop installer – Subiquity.
Ubuntu developers have worked on the new Flutter-based Ubuntu installer for over two years. The goal was to replace the good old ubiquity installer with a modern application. The primary reason is code maintainability, while Flutter provides a better alternative.
However, the installer never made it to the final release until now. The new installer debuts in the Ubuntu 23.04 “Lunar Lobster” release (upcoming).
In this article, we will walk you through the new Ubuntu installer “subiquity” and show you how to install Ubuntu with ease.
Introduction to the New Ubuntu Installer
If you compare it with the current installer, the new Ubuntu installer has undergone a complete redesign visually. The new installer is more user-friendly and intuitive, making it easier for users to install Ubuntu. The installer also features improved language support, partitioning options, and a more streamlined installation process.
As of the current version, there are total 8 steps before installation starts. A “preview/next” based wizard will guide you through the installation process.
From the LIVE medium, upon selecting the “try or install ubuntu” from the grub menu, the new installer launches. On the first screen, you need to select the language.
If you are seeing it for the first time, you might notice the look and feel is now more “flat” alongside control buttons and widgets. This design aligns with the current Ubuntu default theme.

So, once you select the language, you get two options. To start the installation, you can select the “Install Ubuntu” option. Or, you can “Try Ubuntu”, which will take you straight to the live desktop.
You can also launch the installer from the left dock icon later.
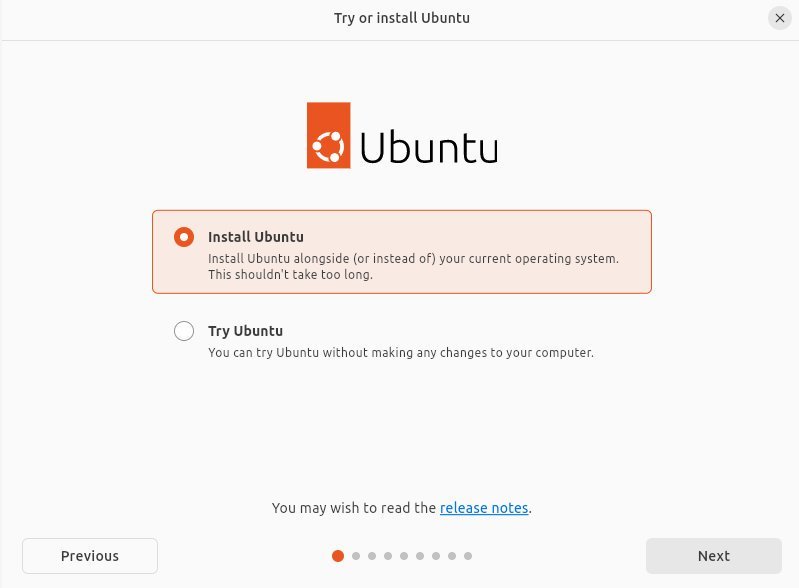
Let’s go ahead and install.
On the second page, you need to select your keyboard layout. You also have the option to auto-detect the keyboard.

The installer will ask you to connect to the internet on the next installation page. Functionality-wise, this is also common with the earlier Ubiquity installer.

The following screen lets you choose the type of Ubuntu install you want to perform. You can go either for “Normal” installation or choose the “Minimal” option. Also, you have options to install the proprietary packages.

The partitioning page is very nice and clean. It offers more flexible disk partitioning options. Furthermore, you can also choose to install Ubuntu alongside another operating system or erase the entire disk and install Ubuntu as the sole operating system. You can also choose to manually partition the disk if you prefer.
If you are using in an unformatted disk, you can create a partition table. Also, you can add partitions, delete them and assign mount points for installation.
It’s really good to see a simpler approach for complex settings (compared to the Anaconda installer).


A summary page will give you an overview of the complete partition information before it has been written to disk. Once you hit install, the changes will be written to disk.
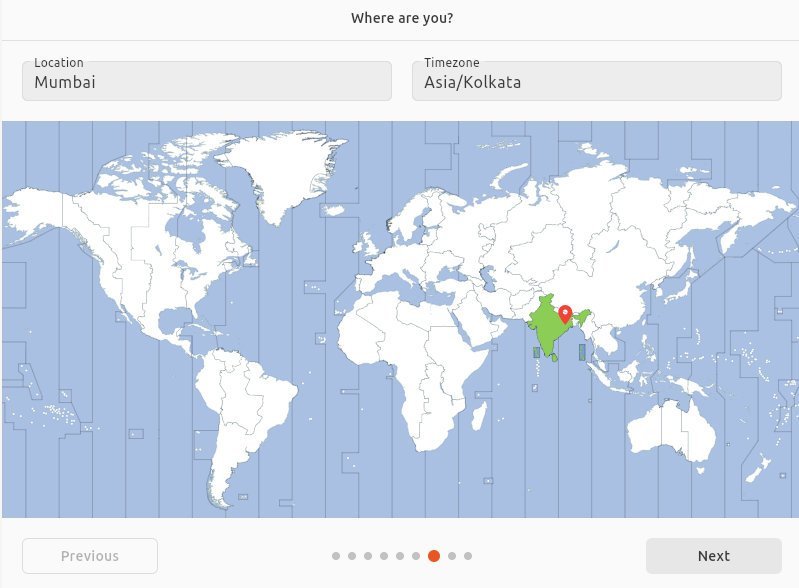
The new installer will take you through a few additional pages, such as location and user information.
The new Ubuntu installer makes it easy to set up your user account. You can enter your name, username, and password. You can also choose to set active directory if you are using the device in your local LAN setup or you are setting it up for your organization.

There is an additional new page to select light and dark themes for your Ubuntu desktop. I am not entirely sure why this setting is needed for installation, but it should have been in the welcome app.

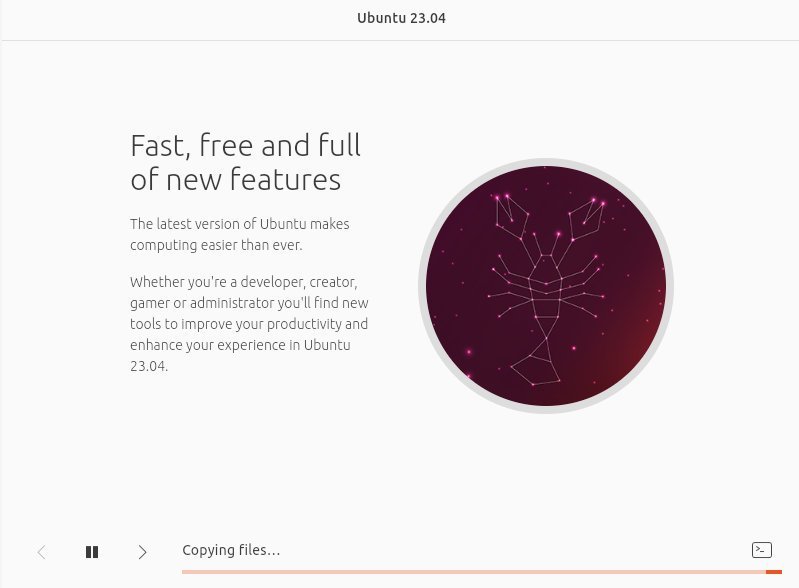
And finally, the installation starts with some feature highlights of the release.
In the end, you get a sleek completion message showing that it has been installed.
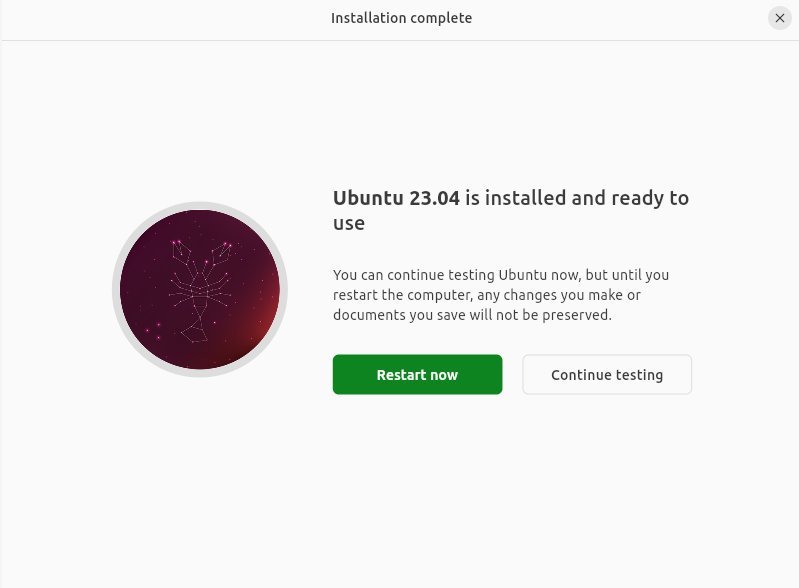
After the restart, you will need to perform some post-installation setup tasks. The existing onboarding app makes it easy to set up your system by guiding you through the process. You can set up your online accounts and privacy settings and perform other tasks as needed.
Conclusion
Overall the new installer remains almost the same functionally. However, with improved looks and under-the-hood performance, it does give a fresh feeling to Ubuntu Linux. I think the old Ubiquity was a little slower in performance, and sometimes it took a couple of minutes while doing partitions. This has been significantly improved in the new installer.
It’s a great addition to the Ubuntu 23.04 release.


