The classic GNOME look is quite popular in all the Ubuntu releases. Here’s how to install in Ubuntu 16.04 LTS (Xenial Xerus).
Classic GNOME
The popularity of classic GNOME is mainly due to resource intensive default Unity desktop thus some users with old desktops, laptops prefers it. Have a look on how to install the classic GNOME a.k.a “flashback” in Ubuntu 16.04 LTS (Xenial Xerus).
How to Install Classic GNOME Flashback
- Open terminal by searching in Unity Dash or Press
CTRL+ALT+T - Run below command and wait for installation to finish.
sudo apt-get update
sudo apt-get install gnome-session-flashback
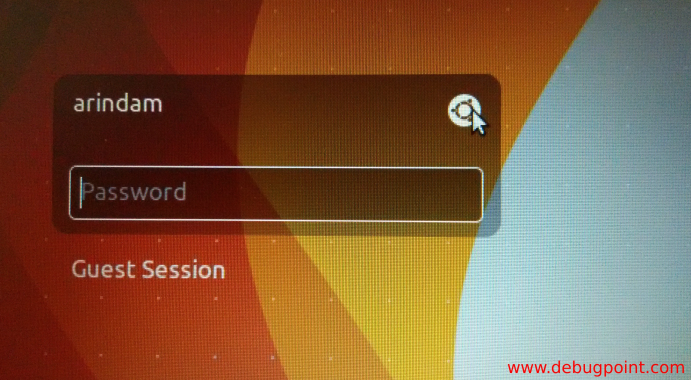
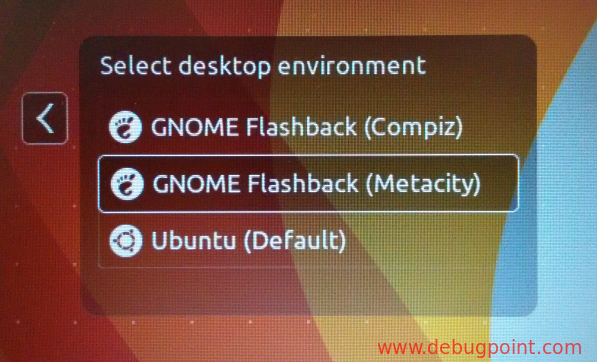
You will be in classic GNOME desktop.

Panel configurations
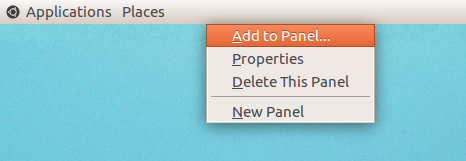
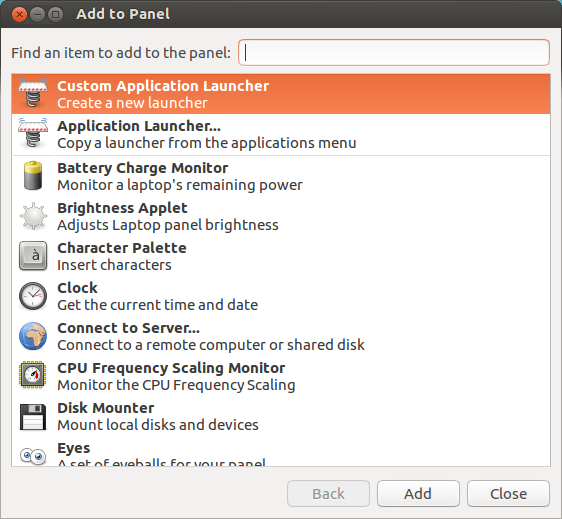
Once you are logged in to Classic GNOME, you may want to customize your panel e.g. add new items, move items, modifying panel size etc.
To modify classic GNOME panel, press ALT+Right Click.

You can add, modify items on the panel. If you want to move items inside the panel, press ALT+Right Click on the panel item.

Drop a comment if you are facing problem installing/using Classic GNOME in Ubuntu.

