Joomla is a CMS which is used by millions of websites today. You must have Apache, PHP and MySql setup already in your system before Joomla installation.
Follow these steps to install Joomla in Ubuntu system:
1. Download Joomla 3 from here.
2. Create a folder inside your apache webserver’s root (public_html). Say name of the folder is “my_blog”.
3. Open your web browser and open the installation folder url http://localhost/public_html/my_blog. You would be seeing welcome page for Joomla.

4. Fill out details as required and click Next.
5. Now you need to fill up the database details. If you have MySql installed you would see ‘MySqli’ in Database Type dropdown. If you see nothing in database type dropdown, then your MySql installation is not correct. Check your MySql installation before continuing.

6. Fill up username and password to connect to MySql database. Enter a database name and table prefix. Click Next.
If you receive an ERROR: Could not connect to the database. Connector returned number: Could not connect to MySQL. – then check you MySql user id and password and try again.
7. In the next FTP screen, do not do anything. You can configure details if you want but I would recommend not to do anything. Press Next.

8. Now the Joomla installation will start and you will see a progress.

9. After installation is complete, you will see a summary of your installation.

10. Go to your server’s home directory and delete the folder named ‘installation’. If you do not do this, Joomla wont let you to visit your blog.
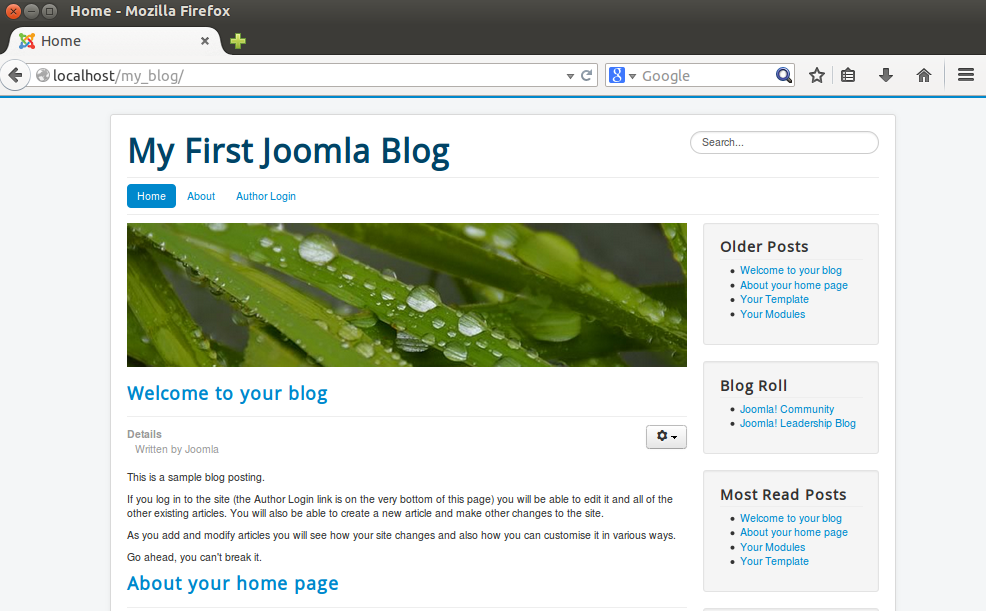
11. Open Browser and visit your blog.
12. To go to admin panel, type http://localhost/my_blog/administrator.

13. Your Joomla installation is now complete!
Joomla logo courtesy by opensourcematters.


