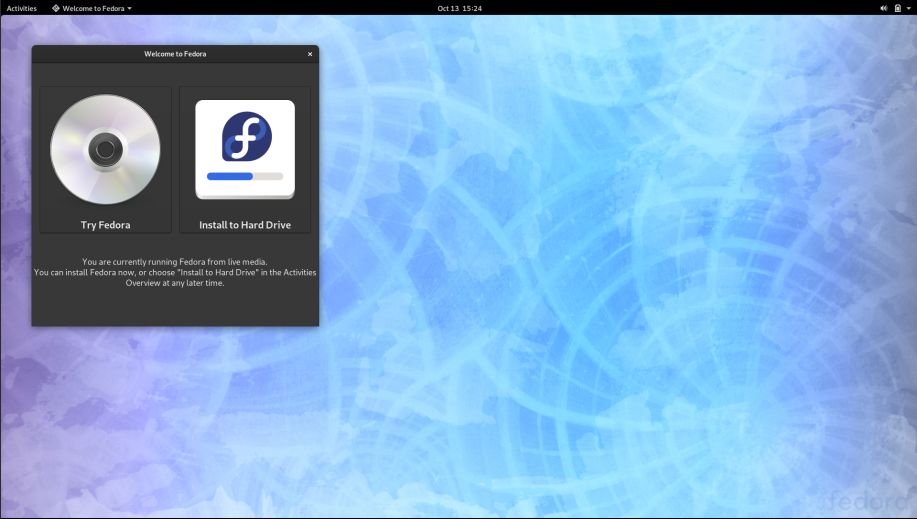
This quick tutorial explains how to create persistent LIVE USB using Fedora Operating system in Ubuntu.
Persistence LIVE USB comes in play when you need a portable LIVE system in your USB stick but you want to keep the configurations, file changes in the stick itself even when you unplug it. This helps in portability and eliminate the need of your HD or SSD partitioning to install a separate OS.
Creating a persistent USB with Ubuntu (and derivatives) operating system is much easier than doing the same of Fedora in Ubuntu itself. This is due to the fact that Ubuntu and Fedora they are both designed in a different way being Linux.

Here’s how you can do it.
Steps to Create Fedora LIVE Persistent USB in Ubuntu
In this tutorial, I used livecd-tools which is a list of utilities bundled to create the LIVE usb for Fedora. This package is not available in base Ubuntu, hence you have to download it. Installation is not required as these are shell scripts and can be run from terminal.
livecd-tools is available in GitHub. Download the livecd-tools from GitHub or clone it via git clone. I would recommend go to GitHub and click clone/Download ZIP.
Extract the downloaded zip file.
Install cryptsetup-bin as it is not available in Ubuntu systems. This utility is required by the livecd-tools for encryption.
sudo apt install cryptsetup-bin
If your USB stick is formatted in FAT32, I would suggest reformat it using GParted to ext4 file system. Open GParted and select your USB Stick (as /dev/SDX) and choose Format To -> Ext4 from the right click context menu.
Before you proceed, make sure Fedora operating system ISO file is downloaded.
Note that all the data in your USB stick would be erased in this process. So, make sure to backup your data before proceeding.
Now, open terminal and browse to the tools directory of the extracted files. Run below command to start creating the Fedora Live USB.

The parameter –home-size-mb 2048 defines the persistent home partition in MB.
sudo ./livecd-iso-to-disk.sh --home-size-mb 2048 ~/Downloads/Fedora-Workstation-Live-x86_64-31_Beta-1.1.iso /dev/sdaX
Change sdaX to sda1 or sda2 etc depending on your system.
This process would take some time to finish (approx 10 minutes) which depends on your system and USB speed.
Once completed, go to BIOS, make sure to change boot device priority by making the USB you are booting from as top one in priority list and disable secure boot.
Plugin your USB and restart your system. You should be able to see GRUB with Fedora LIVE option.