A simple guide on how to install the Firefox web browser in Ubuntu using the official deb packages.
Firefox is one of the most popular web browsers, known for its speed, security features, and customizability. If you are using Ubuntu, you should have the Snap version installed in your system.
On Jan 23, 2024, the Mozilla team introduced an official .deb package for Firefox. This package is built with proper optimizations and security in mind, and Mozilla boasts that it is faster in performance. The official package is directly connected to the Mozilla release process. Hence, if you remove the Snap version and use this, you should be all set for upgrades and future releases.
Let’s take a look at how you can install it in Ubuntu.
Table of Contents
Install Firefox using official deb package in Ubuntu
Firstly, you should use the existing Snap version. This is to prevent any conflict between two versions of Firefox, consuming additional disk space.
Remove the snap version
- Close all the Firefox instances if open.
- Open a terminal. Then, run the below command.
sudo snap remove firefox
- Wait for the command to complete. This will remove the snap executables from your system and disconnect Firefox from various system services. But the home snap directory will still be there. You can manually remove that using the below command.
- Finally, reboot the system.
cd ~/snap
rm -r firefox
reboot
- A detailed guide to remove Firefox Snap is present here if you want to read more.
Note: There is a pre-compiled deb file which Firefox ships. You can try to install it, but it is not recommended.
The following method is a little more advanced and requires some commands to execute.
Install Firefox on Ubuntu
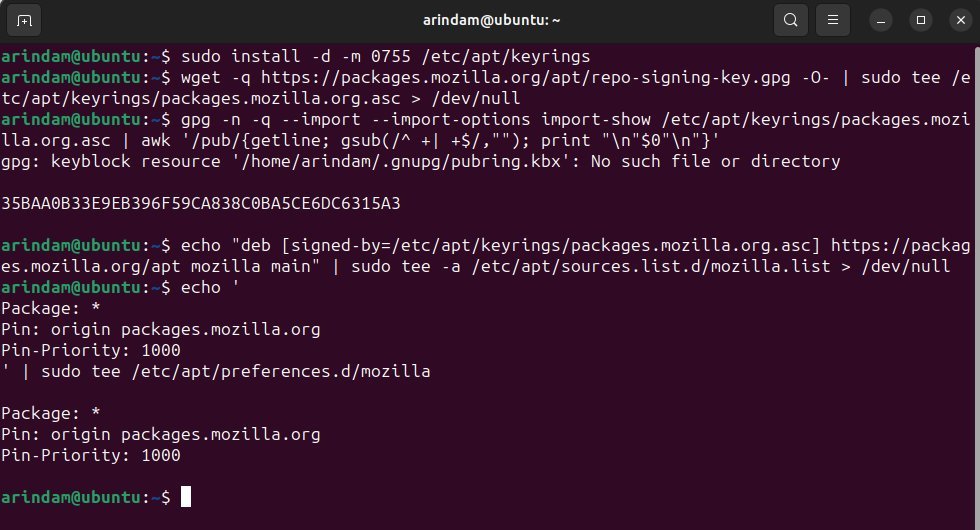
Create a directory to store APT repository keys if it doesn’t exist:
sudo install -d -m 0755 /etc/apt/keyrings
Import the Mozilla APT repository signing key. The wget should be installed in the latest Ubuntu:
wget -q https://packages.mozilla.org/apt/repo-signing-key.gpg -O- | sudo tee /etc/apt/keyrings/packages.mozilla.org.asc > /dev/null
The fingerprint should be 35BAA0B33E9EB396F59CA838C0BA5CE6DC6315A3, verify it:
gpg -n -q --import --import-options import-show /etc/apt/keyrings/packages.mozilla.org.asc | awk '/pub/{getline; gsub(/^ +| +$/,""); print "\n"$0"\n"}'
Next, add the Mozilla APT repository to your sources list:
echo "deb [signed-by=/etc/apt/keyrings/packages.mozilla.org.asc] https://packages.mozilla.org/apt mozilla main" | sudo tee -a /etc/apt/sources.list.d/mozilla.list > /dev/null
Configure APT to prioritize packages from the Mozilla repository:
echo '
Package: *
Pin: origin packages.mozilla.org
Pin-Priority: 1000
' | sudo tee /etc/apt/preferences.d/mozilla
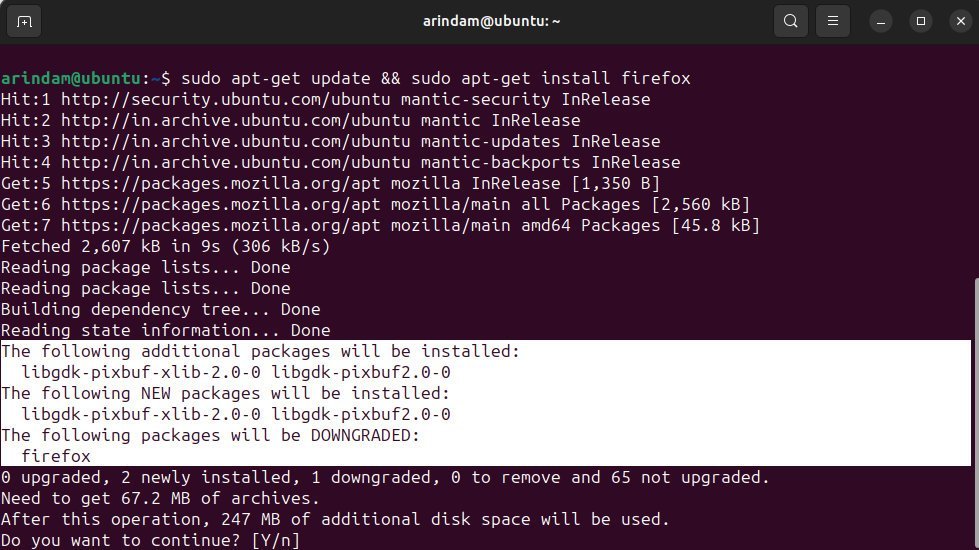
Finally, install the Firefox deb version using the below command:
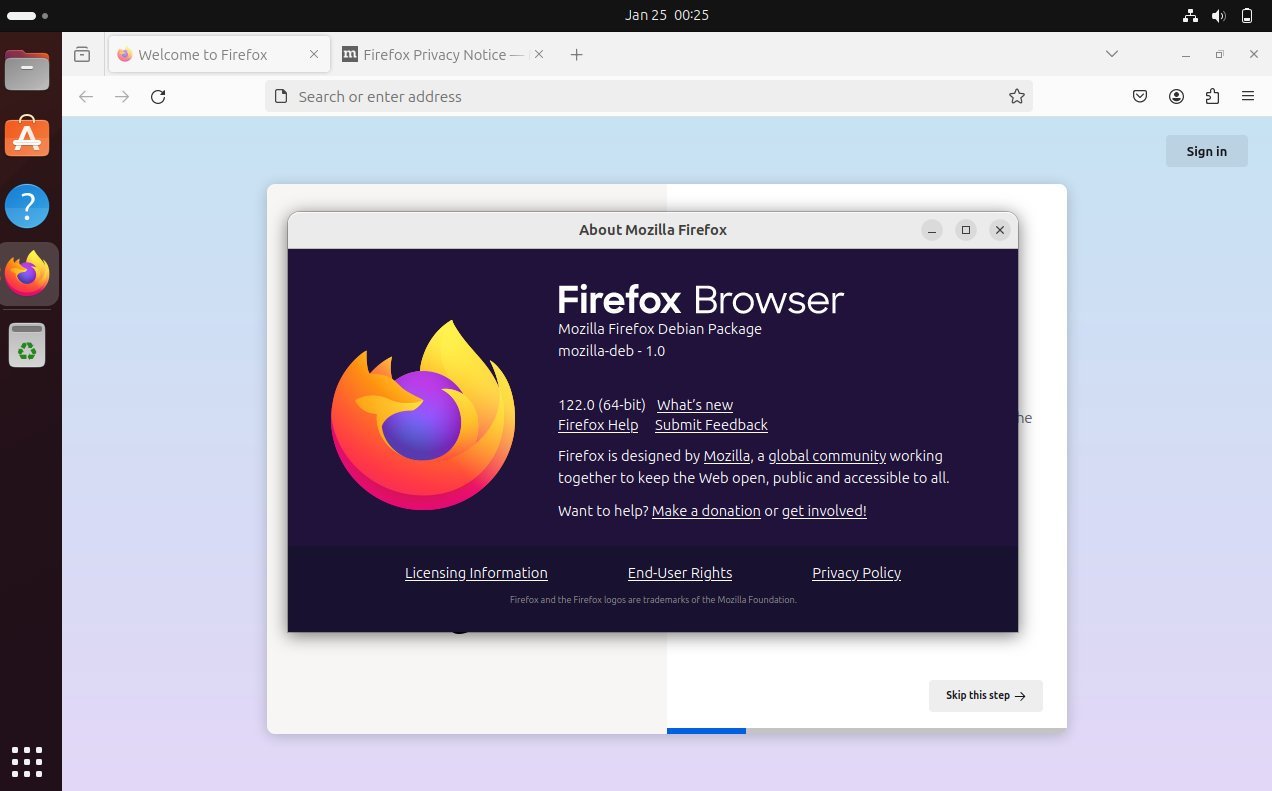
sudo apt update && sudo apt install firefox
In addition, if you want to install a language pack, you can use the following command. Change the language code according to your region. You can check the two-byte code on this page.
sudo apt-get install firefox-l10n-fr
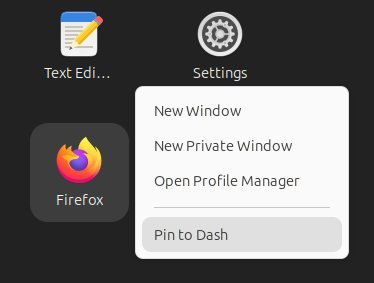
After the installation, you can open the application menu in Ubuntu. And add Firefox to the Dash as a shortcut by using the “Pin to dash” option in the context menu.
Data migration from existing Firefox installation
If you were using Snap or Flatpak before, you should import your profile. You can either:
- Set up Sync.
- Or copy the existing files on your computer. Make sure that all copies of Firefox on your computer are completely closed before doing this:
- Flatpak:
mkdir -p ~/.mozilla/firefox/ && cp -a ~/.var/app/org.mozilla.firefox/.mozilla/firefox/* ~/.mozilla/firefox/
- Snap:
mkdir -p ~/.mozilla/firefox/ && cp -a ~/snap/firefox/common/.mozilla/firefox/* ~/.mozilla/firefox/
In both cases, once you’ve moved the profiles, launch Firefox from the terminal with the command firefox -P. Select your desired profile. After this initial setup, the -P command will no longer be necessary.


