This tutorial explains the steps for manual installation of GNOME Extension from its ZIP files in Ubuntu, Fedora and other related distributions.
The typical way of installing GNOME Extensions, which we explained in this article, is to install chrome-ghome-shell connector, and then enabling a respective browser extension for Firefox, Chrome etc.
But this steps depends on Browser and requires additional connector installation. Moreover, if you are running your browser as Snap or Flatpak version, the typical browser method would not work. You might see an error like below.
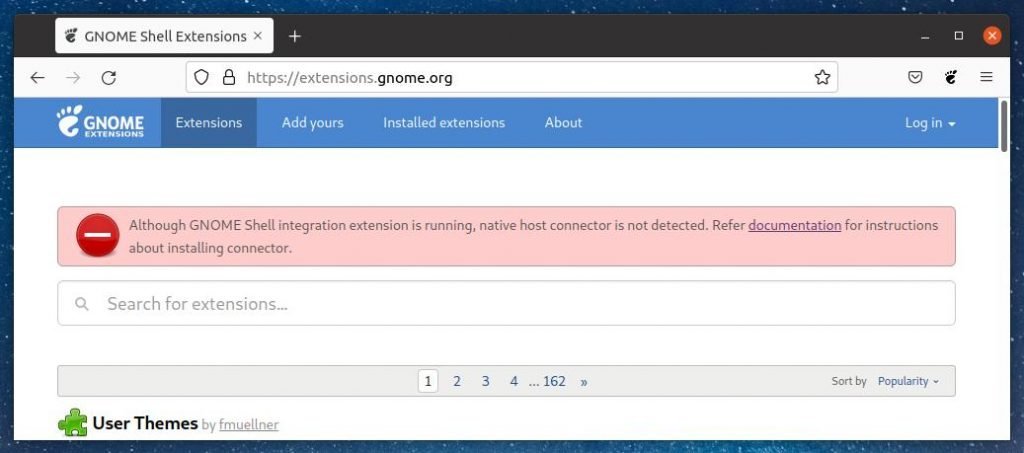
The reason is Snap/Flatpak packages runs in Sandbox by design, hence they do not have access/can communicate to the underlying desktop environment. That stops the connector chrome-gnome-shell from connecting. This prevents installation, uninstallation of GNOME Extensions from official Extension website via ON/OFF button.
Hence, this tutorial. And now, it is more significant because Ubuntu 21.10 recently moved to default browser Firefox as Snap. I believe, it continues to stay as Snap in coming days.
No worries, you can still manually install GNOME Extensions via below steps.
Manual Installation of GNOME Extension
- Go to official GNOME Extension website.
- Choose your extension, then select Download for GNOME version and save it to Downloads directory.

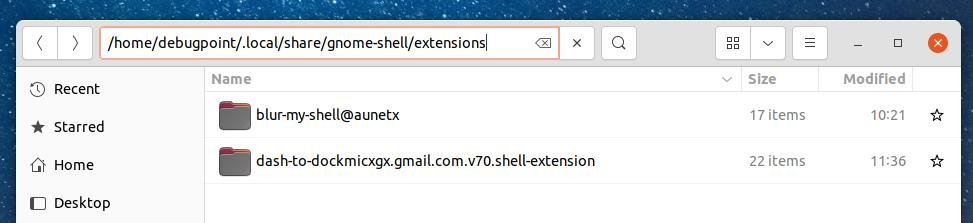
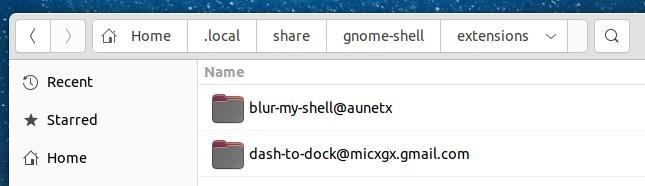
- Extract/unzip the files using File manager and copy the entire folder to below path.
/home/tux/.local/share/gnome-shell/extensions
- Replace tux with your username.
- If the .local folder is not visible, press CTRL+H to show the hidden files.
- If the extensions directory is not present under gnome-shell, then create it.
- Paste the entire unzipped folder in above path.
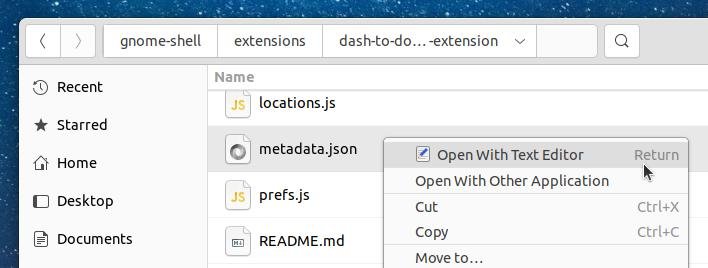
- Go to the extension folder and open the metadata.json file using a text editor.
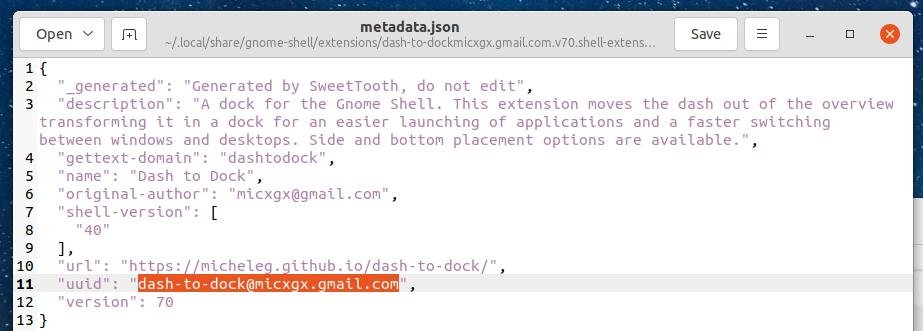
- Copy the UUID field and rename the extension folder with this UUID. This is required to GNOME to identify the Extension.
- Restart GNOME Shell by command Or, reboot your system.
- After reboot, open a terminal and install gnome-shell-extensions. This utility helps to manage extensions manually.
sudo apt install gnome-shell-extensions
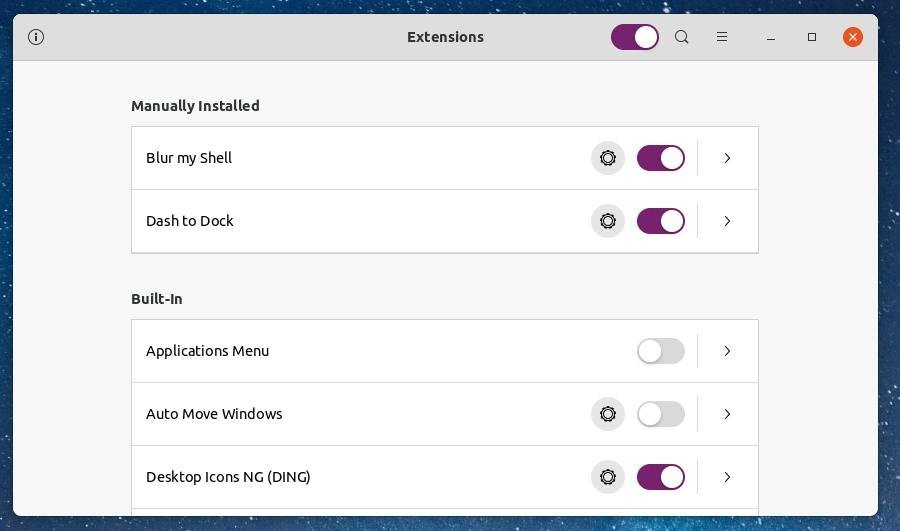
- Then either you enable the new installed extensions by a command or open the above utility (Name- Extension) and enable it. The command line method is outlined below. Make sure to change the extension name for your own.
gnome-extensions enable dash-to-dock@micxgx.gmail.com
- Or enable via the app.
So, that’s it. Enjoy the extensions. If you fancy making your GNOME look more cool, you might want to take a look in some topics below.
Closing Notes
Honestly, Snap is a mess. And when an important and most use application such as Browser is shipped as Snap by default, users bound to face trouble. For example, this installation of GNOME Extension – which was a streamline process. And now it’s broken due to an unnecessary decision in Ubuntu 21.10. However, you can still follow the above steps, although a little lengthy, but you have control on the steps.
Let me know if this helps you, or faced any trouble – using the comment box below.


