The lightweight and popular Linux distribution – MX Linux extended its reach. And MX Linux is now available for Raspberry Pi devices as a Beta image (Fluxbox-RaspberryPi Respin “Ragout” ) which you can try out on your devices right now. Here’s how.
MX Linux is a lightweight Linux distribution that comes with Xfce, KDE, and Fluxbox desktops. This Linux distribution is popular due to its performance and stability for older hardware.
Many mainstream Linux distributions already providing official Raspberry Pi images for some time already. For example, Ubuntu started providing Raspberry Pi images from Ubuntu 20.10 Groovy Gorilla and Ubuntu MATE as well. And now MX Linux also follows the trend.
MX Linux – Fluxbox-RaspberryPi Respin “Ragout”
The Raspberry Pi version is available as a Beta image to test and try with modified Fluxbox desktop spin. The beta image is tested and should work with Raspberry Pi 3, 4, and 400 according to the official announcement.
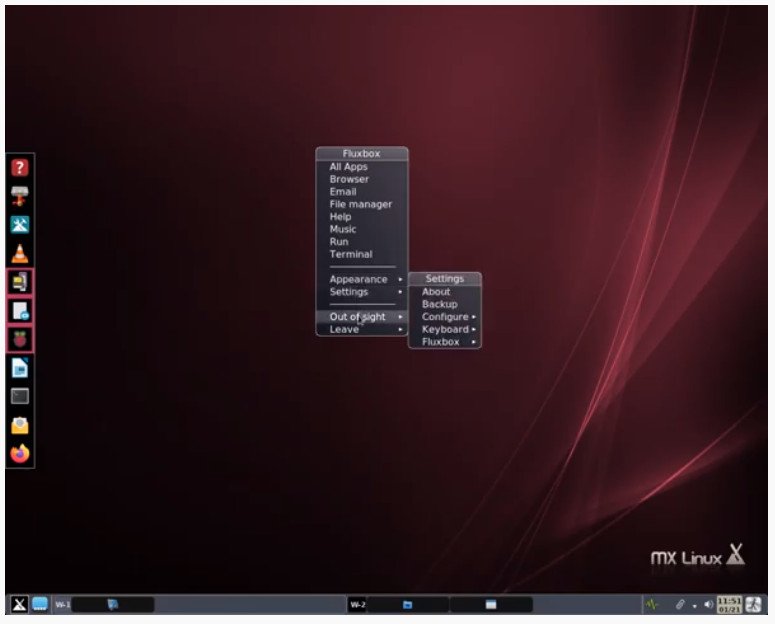
If you tried MX Linux, you already aware that it provides a curated list of all possible desktop applications and some of its own MX native apps as well. The Raspberry pi image also includes many Xfce centric apps and some MX Linux Apps as well.
A quick rundown of the applications present below that is included in this beta image.
- Browser: Firefox-esr 78.6
- Email: Claws Mail 3.1.7
- Media player: VLC 3.0
- File manager: Thunar 1.8.14
- Editor: FeatherPad 0.16
- IDE: Geany 1.33, Thonny 3.1.2 Python Editor
- Network: Network Manager 1.14
- Desktop info: Conky Manager 2.7 with large conky collection
- MX Updater for updates
- Add, remove software from MX Tools
- Synaptic package manager
You can take a look at the demo video below of the MX Linux Fluxbox running in Raspberry Pi.
Download and Install
You can download the compressed .img file of MX Linux – Fluxbox-RaspberryPi Respin “Ragout” (beta) from the below link.
Once downloaded, extract the file.
Plugin a microSD card on your PC. Download the Imager App from the official website. Open the Imager app and create a custom image into your microSD card using the extracted .img file.
Insert the microSD card into your Raspberry Pi and turn it on. When the boot completes, provide the user name = “Pi” and password = “raspberry” for login.
And that should do it. Enjoy the fresh MX Linux on Raspberry Pi.
Support
If you have any questions or need any help, go to the official forum here and create a topic.


