Oracle Java 14 is released. And here’s how you can download and install in Ubuntu 18.04 LTS, Ubuntu 20.04 LTS, 19.10 and Linux Mint 18.x, 19.x.
Oracle announced the release of the latest Java 14 for developers and enterprises.
Installing the latest Java 14 is not straight forward without adding PPA. There are certain alternatives as well, such as OpenJDK; but they do not work sometimes for Java dependent application programs. Hence Oracle Java is required.
“Linux Uprising” Team created an automated script to install Java directly via PPA for 64-bit systems and make the latest Java as default by setting up environment variables such as JAVA_HOME.
How to Install Latest Java 14 in Ubuntu
- Open terminal (CTRL+ALT+T).
- Add the “Linux Uprising” PPA via the below command.
sudo add-apt-repository ppa:linuxuprising/java
- Then run below commands.
sudo apt-get update
sudo apt-get install oracle-java14-installer oracle-java14-set-default
- This command will directly download the latest Java 14 from the Oracle website. Wait till the download is complete.
- Once the download is complete, type below to confirm the Java version.
java --version

You should see Java 14 in the prompt. You can also check out the Java executable path via below command:
which java
- JAVA_HOME variable also can be checked via below command.
To remove:
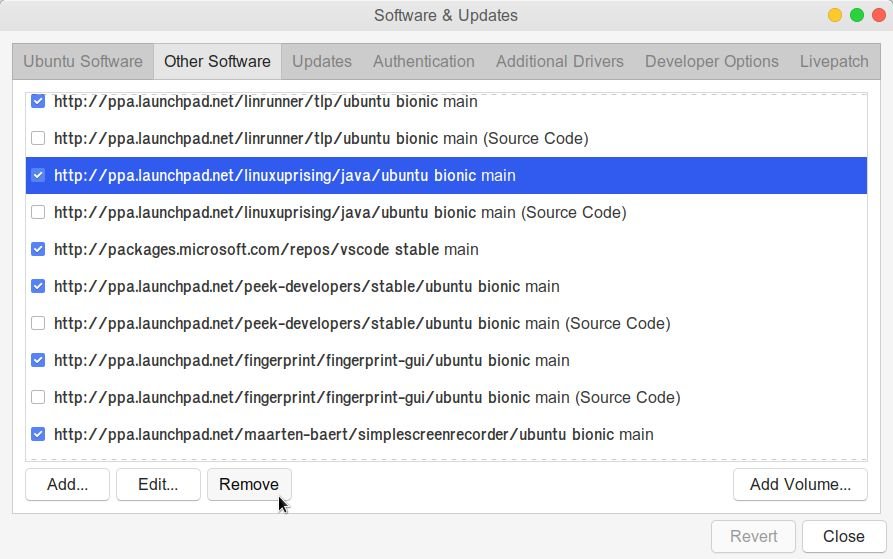
You can remove the PPA from Software and Updater, then you can remove the above-installed packages.
sudo apt-get remove oracle-java14-installer


