This tutorial is the complete collection of everything you need to know for creating a GIF image in Linux.
The GIF aka Graphics Interchange Format was introduces on 1987 and became popular in web because of its low size, animation feature and of course portability. GIF can be created from a set of images Or, from a video clipping. This tutorials will focus on various methods of creating GIF from images/videos in Linux.
Table of Contents
Create gif from a set of images
Using ImageMagick – Convert
Imagemagick image manipulation suite provides the ‘convert’ program which can be used effectively to create animation/GIF images. You can run convert from command line using various of its option.
To do a basic GIF animation, convert needs list of image files and it can be presented with wildcard as well if your images are names such as MyImage1.jpg, MyImage2.jpg…etc.
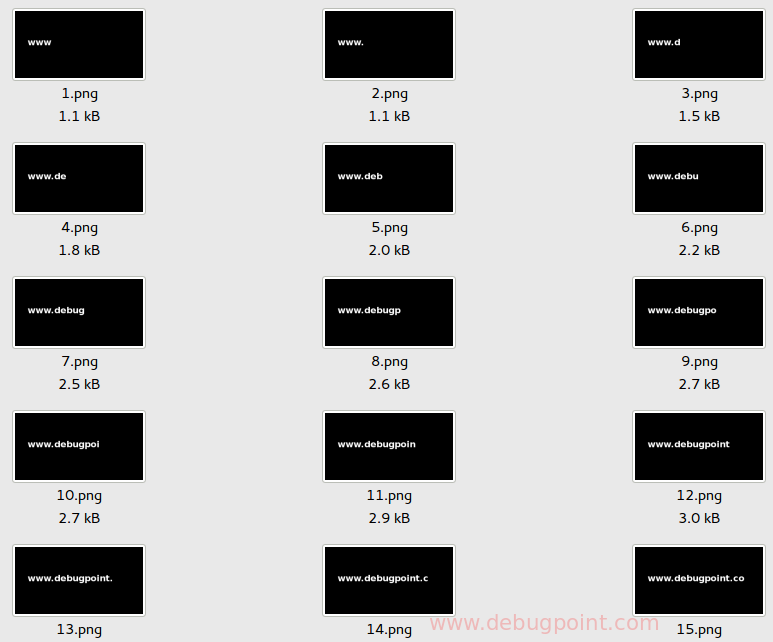
Run below command from terminal to create a gif file named “animation.gif” from a set of files named 1.png, 2.png, 3.png…16.png. The ‘delay’ option is the delay time between two images. The ‘loop’ option is the Number of times the GIF animation is to cycle though the image sequence before stopping. Default loop is 0 i.e. infinite sequence.
Below command can create a GIF image ‘animation.gif’ from a set of example 16 images.
convert -delay 100 -loop 0 image*.jpg animation.gif
Source Images
Below gif is created after running above command:

Convert provides a wide range of options for the output GIF including resolution, transparency, quality etc. Read more options in below link:
ImageMagick – Convert – Animation Basics
Using ffmpeg
ffmpeg also can be used to create GIF files. ffmpeg does it in two steps. First it creates an intermediate video file based on set of images. Next the video is converted to a GIF files.
Below two commands would create a GIF file from the same above set of image files.
ffmpeg -start_number 1 -i '%d.png' -c:v libx264 out.mp4
ffmpeg -i out.mp4 -pix_fmt rgb24 -loop 0 out.gif
- -start_number = indicates from which file number present in input image file name it would start creating the gif.
- -i = the input files, %d denotes any number present in image files.
- Libbx264 = The output video codec
Below image is created using above commands in ffmpeg:

Create gif from a video
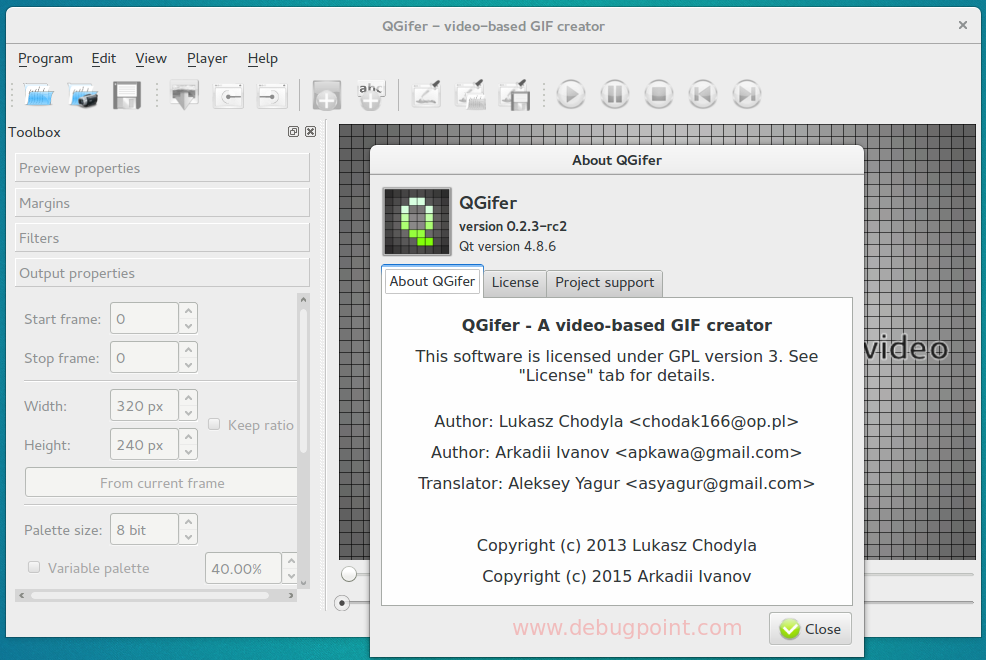
Using QGifer
QGifer is an UI based app which lets you to create gif directly importing a video. The app is very user-friendly and very easy to use. Some of the awesome features of QGifer are – add text/images, apply filters, size reduction etc.
The main QGifer project is not under development. There is a fork of this project is currently under development in GitHub with enhancements and bug fixes.
Install QGifer in Ubuntu, Debian, elementary, mint
Download the 64-bit deb binary – qgifer_0.2.1-1_amd64 [330 kB]
Double click the deb file to install via Ubuntu Software Center
Note: QGifer doesn’t support videos more than 1800 frames and only supports MPEG and YUV4 codecs. If your video size doesn’t fit the said criteria you can cut your videos OR convert it to MPEG or YUV4 codec.
Usage of QGifer
All the menu items of QGifer are self-explanatory.
Tutorial Video – Create gif using QGifer.
Create GIF from screen cast or screen recordings
Using byzanz
byzanz is an awesome app which directly records screen to a gif file. It also keeps file size minimum by keeping the gif quality. It doesn’t have any GUI and it can only be run from the terminal – “byzanz-record”.
How to record screen as gif using byzanz
Run below command to record a portion of the screen.
byzanz-record -d 20 -c -x 0 -y 0 -w 700 -h 550 -v out.gif
Below gif image recorded using above command:
Explanation of the arguments used in above command:
-d : duration : 20 seconds to be recorded
-c : cursor also to be recorded
-x : left co-ordinate of the recording rectangle
-y : right co-ordinate of the recording rectangle
-w : width of the recoding rectangle
-h : height of the recording rectangle
-v : verbose output
out.gif : output file name
Note: You can run xwininfo from terminal to get the co-ordinates of your target recording window.
How to install byzanz
byzanz is available in universe repository. To install byzanz in Ubuntu, debian, Mint, elementary via terminal run below command:
sudo apt-get install byzanz
Using silentcast
silentcast is a GUI based app which is used to create GIF from an user selected window. This utility has lots of features such as graphical selection mode of windows, user defined frame rate, window selection, recording the full screen etc. The app can be installed via ppa as below in Ubuntu, elementary, mint, Debian:
sudo add-apt-repository ppa:sethj/silentcast
sudo apt-get update
sudo apt-get install silentcast


